Benefits of language setting
Configuring the language settings for the Booking Engine and Website offers several key benefits:
- Enhanced User Experience – Customers can navigate the platform in their preferred language, making the booking process easier and more intuitive.
- Increased Accessibility – Catering to different languages ensures that a wider audience can access and use the platform without language barriers.
- Higher Conversion Rates – When users feel comfortable and understand the booking process clearly, they are more likely to complete their reservations.
Step-by-Step Guide
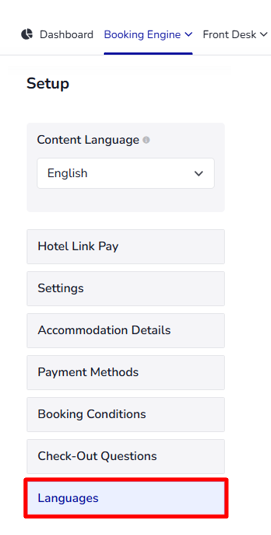
Step 1 — Access the setup page
From the dashboard go to Booking Engine → Set Up → Languages.
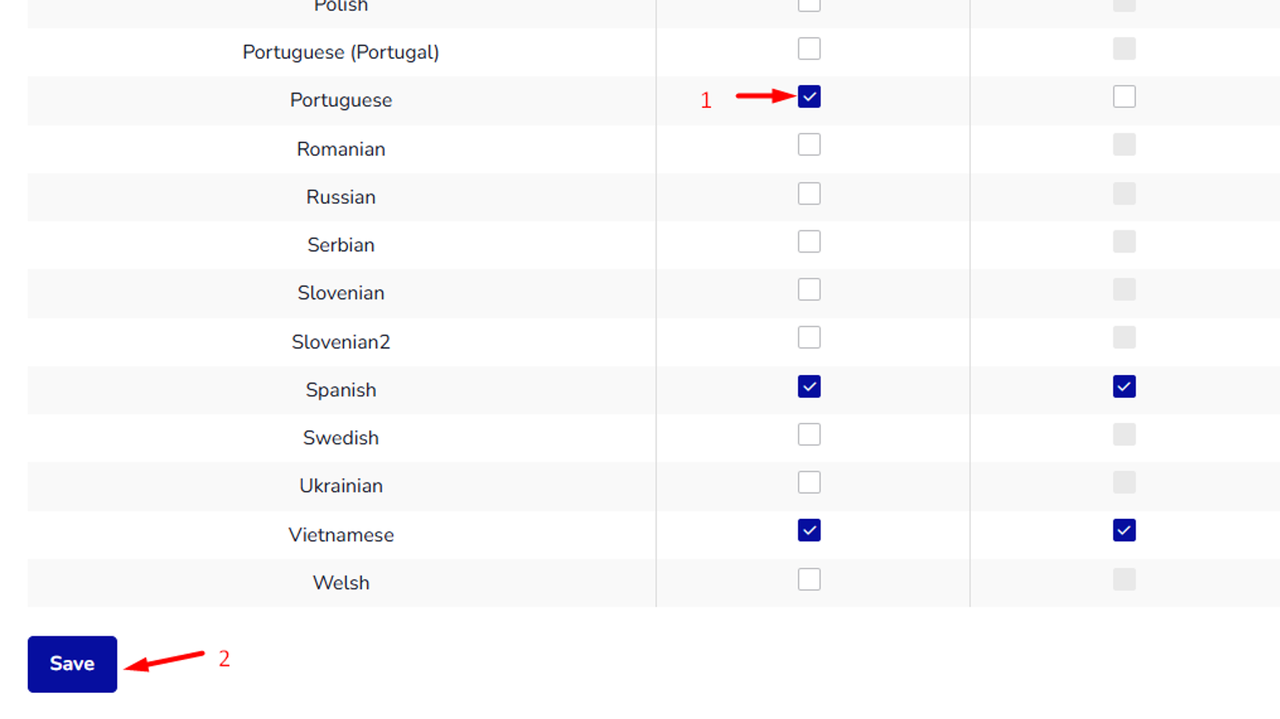
Step 2 — Select and activate a Language
Select the desired language on the extranet page under the Active column → Click the Save button.
Step 3 — Complete the Language Setup
In the "Content Language" section, the newly added language will appear. Select the language that you wish to use. Then hover the mouse cursor over the tooltip next to "Content Language" and then choose "Languages".
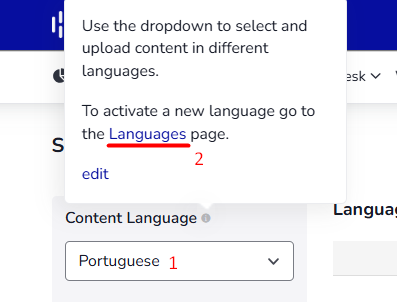
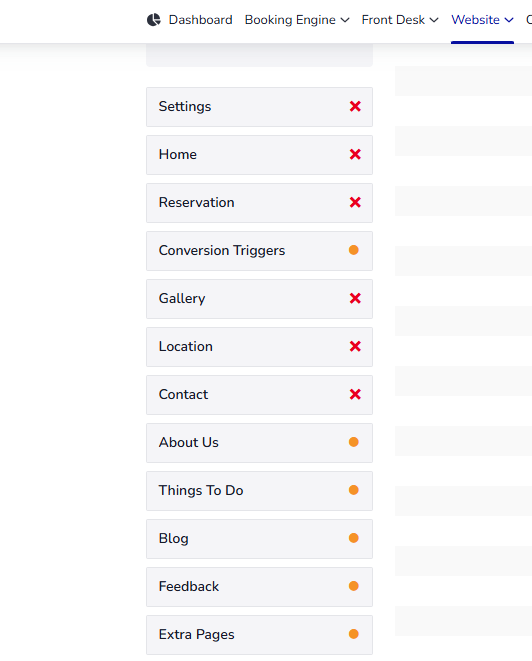
After clicking on the word "Languages" the system will navigate to the page to set up the mandatory content for Website. The items marked with a red "x" (required) and an orange "o" (optional) to set up content in the chosen language.
Once complete filling in all the required content, you need to return to the Booking Engine page → Languages and check the language you just set up under the "Live" column.
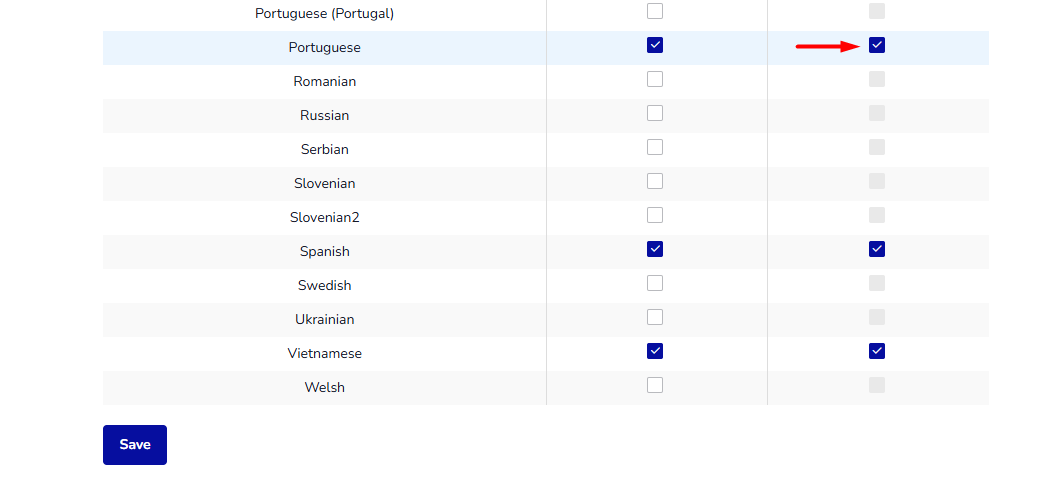
If all the required content has been filled in, successfully check the corresponding language in the "Live" column → click Save. After selecting, the website will display the saved language for travelers to choose from.
Note:
If there is still missing required content, when checking the language in the Live column, a notification will be displayed as shown in the image.
